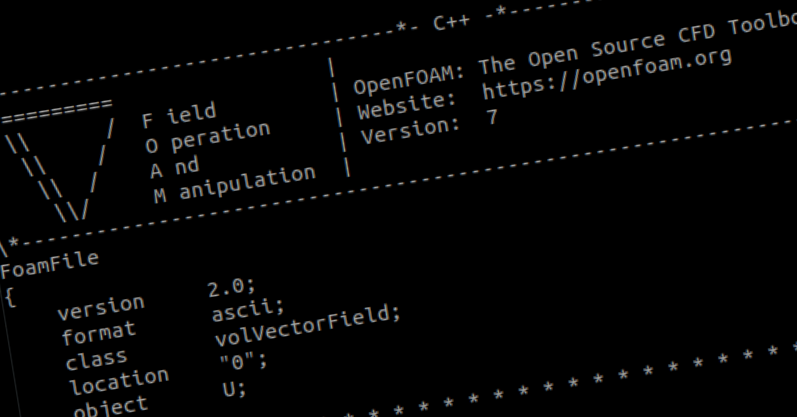
OpenFOAM is a powerful open source CFD toolbox that has proven itself as a competitive option for producing high quality results. While being extremely capable, accurate and comprehensive, it can also be challenging to learn as everything is controlled using text files via the command line. Without a user-interface there can be some challenges to learning, and using the program. This learning curve is exacerbated when navigating complex cases where many boundaries and boundary conditions are required to determine the correct physics or extract valuable post processing data from the case. This post is going to look at some tips and tricks to help keep boundary condition (BC) files shorter, more readable, and more general. If you’re new to OpenFOAM or CFD, check out our previous post on the OpenFOAM case structure for a broader summary of how OpenFOAM works.
All of the methods discussed here are used with OpenFOAM8, offered by the OpenFOAM Foundation.
Boundary Condition Files
Boundary Condition (BC) information is primarily stored in the 0/ directory for any case set up. This directory holds information about each of the fields required to run a simulation (pressure, velocity, turbulence, etc.). We’ll use an example case that is running pimpleFoam with laminar flow, therefore the 0/ directory will have the following files:
0/
… U
… p
We’ll look at the BCs that would go into the 0/U file, however all of the methods discussed are applicable to any boundary file. In OpenFOAM, BCs on the geometry are defined within the constant/polyMesh/boundary file. This file holds information about the boundary type (patch, symmetry, wall, etc.), which faces in the mesh belong to the boundary, and any other special information required. Boundary types in this file are covered later in this post with one of the shortcuts available.
Within the 0/U file, each of the boundaries defined in the polyMesh/ folder will require a BC to enable the solver to run. Manual entry for each BC is an option, and can be suitable for simple simulations (small number of boundary faces and field files), however, this method will quickly become tedious as additional boundaries and field files are added. Additionally, if there are changes to the BCs, it becomes tedious and error prone to manually change each entry.
Tip 1: Writing multiple boundary faces to the same boundary condition
This is a simple technique to implement with any boundary. For example, if you’re running a case that has two walls (i.e., “wall_front” and “wall_back”) and you’re interested in knowing the forces acting on each body, you would break the two walls into independant boundaries that can be read by the postProcessing function. Both boundaries use the same noSlip BC in the 0/U file, thus resulting in the same boundary being written twice as shown:
boundaryField
{
    wall_front
    {
        type    noSlip;
    }
    wall_back
    {
        type    noSlip;
    }

    ...

}
In the case where there a number of other boundaries in this file, we can condense the two inputs into a single one using the ‘|’ operator, given as:
boundaryField
{
    "(wall_front|wall_back)"
    {
        type    noSlip;
    }
    ...

}
Note that when using the ‘|’ operator there can be no spaces.There is no limit to the number of BCs that can be grouped together in this way. If you use a common naming convention for your boundaries, then you can use a more generalized method known as the ‘wildcard’ character or ‘*’, shown here:
boundaryField
{
    “wall_*”
    {
        type    noSlip;
    }
    ...

}
In this case the solver will look at all boundaries that start with “wall_” and apply the noSlip BC to them.
Tip 2: Utilizing #includeEtc
This tip can be a huge time-saver for many of the miscellaneous boundaries that are commonly defined, such as symmetry, wedge, empty, and cyclicAMI. At the top of the boundary list, in any field file, you can add “#includeEtc “casedicts/setConstraintTypes”, as shown:
boundaryField
{
#includeEtc “casedicts/setConstraintTypes”
...
}This line instructs OpenFOAM to look through the polyMesh/boundary file and automatically apply the boundaries based on their type. This can be especially useful for creating BC templates that reduce the effort to apply case specific boundary details.
For a closer look at which boundary types can be applied with this line, you can find the file at $FOAM_ETC/caseDicts/setConstrainTypes
Tip 3: Reference variables
Reference variables can be used more broadly than I will discuss in this post, however, their overall purpose is to allow values that you wish to use repeatedly to be referenced in from a single location. You may have seen this used in several tutorials where the internalField entry is also applied at the inlet patch as shown below:
internalField uniform 10;
boundaryField
{
#includeEtc “casedicts/setConstraintTypes”
inlet
{
type fixedValue;
value $internalField;
}
...
}When the OpenFOAM solver reads this BC, it will know to replace the inlet value with the internalField value. The $ preceding the variable name is the flag that informs OpenFOAM that it is looking at a reference variable. Reference variables are not limited to keywords in the boundary files, you can create your own named variables at the top of the file and reference them within the boundary fields, for example if you would like to specify a different inlet value than your interalField value, you can set your new inlet value using ‘inletValue’, shown as:
internalField uniform 10;
inletValue uniform 15;
boundaryField
{
#includeEtc “casedicts/setConstraintTypes”
inlet
{
type fixedValue;
value $inletValue;
}
...
}This will set the inlet value to 15, and the internal field value to 10. Reference variables are not limited to boundary files and can be applied to other dictionary files, such as a dynamicMeshDict, snappyHexMeshDict and many more.
Tip 4: Always maintain a 0.orig
OpenFOAM has a habit of overwriting the boundary field files as it reads them. The result of this is OpenFOAM undo-ing all our clever coding practices, such as taking our boundary condition lists (i.e., “(wall_front|wall_back)”) and expanding them into individual inputs. The drawback of this is that we now would have to go in and explicitly change each individual BC if we need to change the value or type. To avoid this, it’s good practise to maintain a 0.orig directory that contains the basic input file structure, and can easily be used to generate a 0/ directory. This practise is showcased in many of the tutorial cases available, and is amazingly helpful at maintaining your case organization. So keep your 0.orig/ directory safe and clean.
Summary
I hope this post will help you write cleaner, more concise BC files for your OpenFOAM cases. If you have any other tricks or techniques you’ve discovered with OpenFOAM boundary conditions, leave a comment below or send us an email. We’re always happy to talk OpenFOAM!
About the Author
Peter Nielsen, MESc, is a co-founder and CFO of Maple Key Labs. His research was based on using OpenFOAM to model under-expanded impinging jets and apply the techniques within an industry product. Many of the methods used for his research were novel and required extensive validation to ensure they were suitable. He also has several years of industry experience in designing, manufacturing and testing fluid machines.

